Fabric bird holiday ornaments
Dec. 12th, 2009 11:21 am
Black bird, black bird, have you any wool?
Yes sir, yes sir, 7 birds full.
What I started with:

Misc rems in various wools, tapestries, velvets, and chenilles.
~If you don't have these lying around plain felt would work peachy too. If you use felt the following step is not necessary~
Which being what they are, do not have nice edges when cut.
So I interfaced the backs with leftover fuseable pellion scraps.

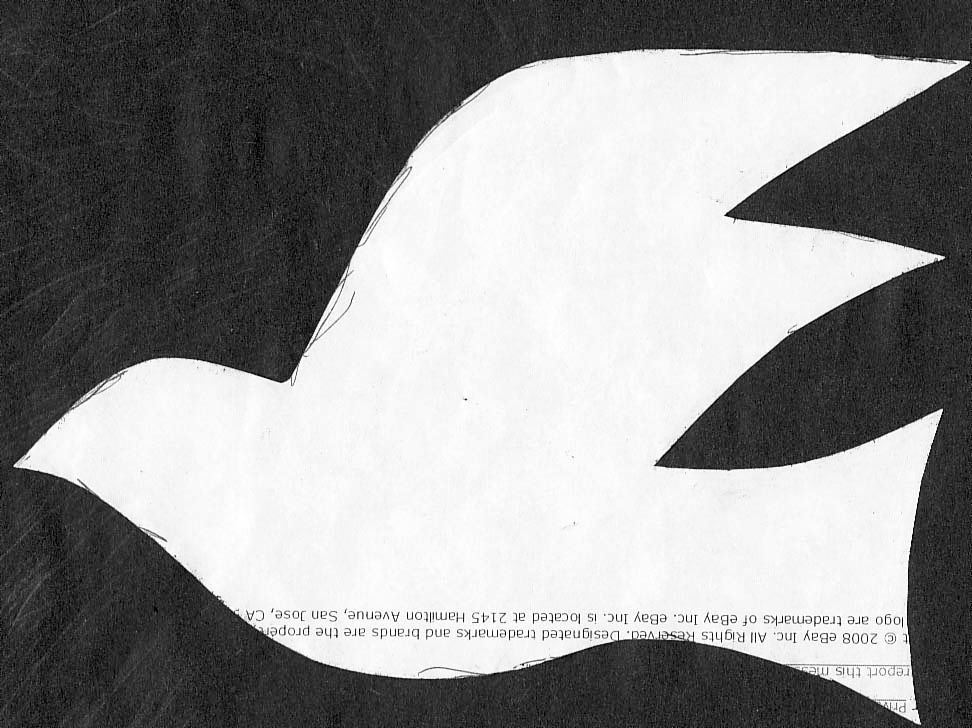
~Shown with the bird template I also drew up and cut out of junk printer paper.~
Then I traced the birds onto them (remember to do a left and right!) and cut them out.

My cut birds all in a row....

Then I spent about a half hour or so going through my sequins, buttons, ribbon, and embroidery wool matching stuff to my 'birds' so I could organize them all before I started making them, and move from one to another without having a mess of craft supplies around me.

~I keep old mushroom containers for this as they work great as project trays, and usually aren't recyclable otherwise~
I sewed the sequins onto the birds before they were assembled, keeping a 1/4 seam allowance free.
Then I sewed the edges shut starting to one side of the belly and going up. Using a blanket stitch and wool embroidery thread (which I have a wealth of)and a sharp tapestry needle.
Once I got to the top of the wing I used an even larger needle to sew through the hanging ribbon. Keeping the ends inside and tying it off with a plain slip knot.
When I had finished stitching that area shut I then knotted the ribbon on the outside.
Once I got back to the bottom I used the opening in the belly to stuff the birds.
I used misc fabric scraps from my serger, and the lighter weight fabric leftovers that I was using cut down even more to make stuffing (as shown in the photo above) gently poking the stuffing into the wing tips, tail, and head with a blunt object.
Then I sewed the belly shut, and did some decorative quilting/ couching stitching on the tail and to form the wings being sure to keep my stitches even on both sides.
Then I sewed on button eyes, trimmed off any fabric thread fuzz, and voila!

These all took me about an hour each to make.
But, seeing as how it was what I consider "TV work" not too bad.
These are going to be given as a set for X-mas.
~I'm keeping the raven for myself.~
But they would make great ornaments for your own tree, hung on a door, as a holiday party project, a little something extra on a gift....whatever.
Here's the bird pattern for you to start with.
~Of course, I give this info freely on the assumption these will not be resold, as that's rather tacky and makes the elves cry.~
Enjoy!
And have a happy holiday season!
X posted!