Marble Magnet Tutorial
Feb. 9th, 2006 10:15 pm
Yea, ok, I know there's a billion of these out there. But this is mine, and I had to share it. So, if you're interested in how to do marble magnets, and don't know how... well, this is the entry for you!
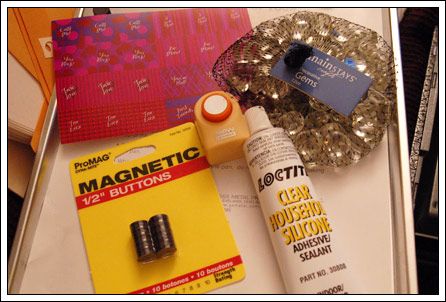
Gather your supplies. You'll need:
Marbles with flat bottoms
Silicone glue
Magnets
Images
Toothpicks
Some scrap paper
You may want to get a circular punch. I did. I loves it. You may also want to work on a cookie sheet. It keeps the magnets from running from you. =D
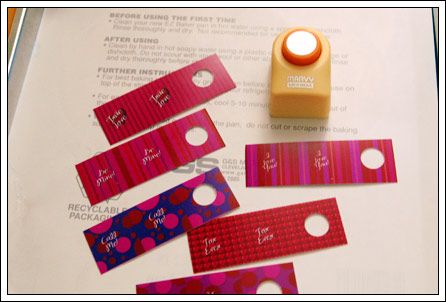
I put all my images onto a 4x6 photo and had it printed at the local 1 hour photo place. Because it's a photograph rather than an inkjet print, I don't have to worry about the ink running. Just make sure your image will fit within a 1/2" circle. I was able to get 18 images on one 4x6 picture.

I trimmed my 4x6 print so the punch would reach the bits easily .I turn my punch upside down, so I can see exactly where I'm cutting. It's a bit awkward, but doable.
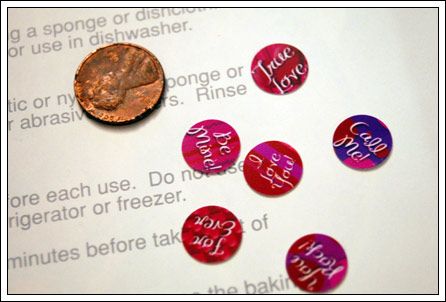
Yay! Lots of tiny little circles. (Or 6, in this case.) I recommend turning them upside down, so it's easier to grab them with your toothpick.
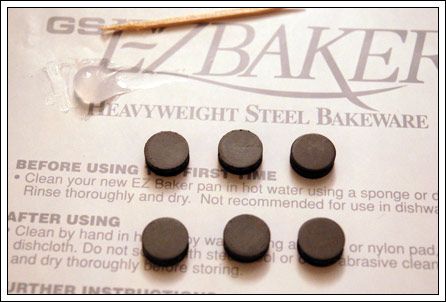
I've stuck my magnets to the cookie sheet, and squeezed out a small blob of glue onto my scrap paper. That blob will do 6 magnets easily.
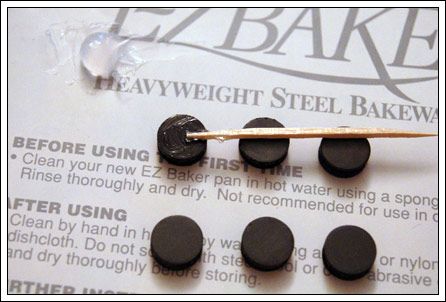
Pick up a tiny bit of glue on your toothpick and smear a thin layer onto the magnet. VERY thin layer.
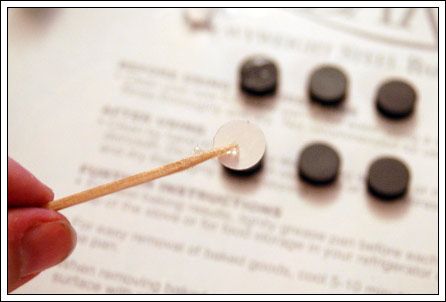
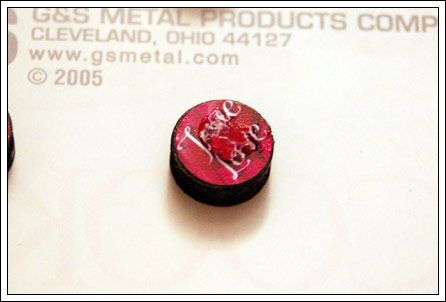
Then touch your toothpick to the back of one of your pictures. Flip it over and...
... place it onto the magnet. Stick it down with your finger, and make sure it's centered.
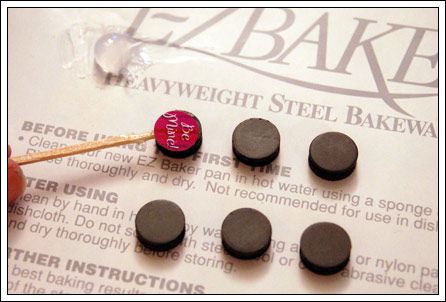
Like this.
Then put a blob slightly smaller than a pea onto the picture.
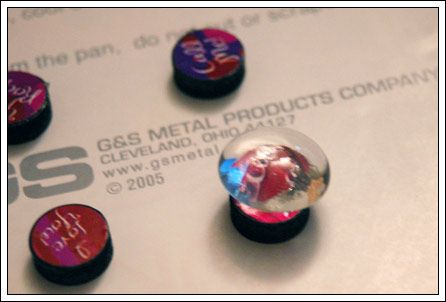
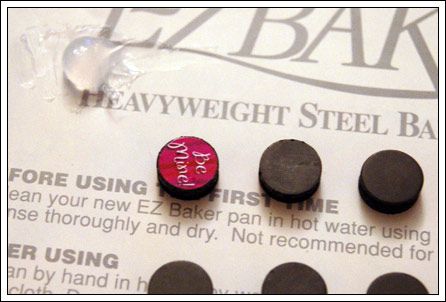
Drop the magnet onto the glue gently, and press firmly til the glue squishes to the sides. Then you'll have...

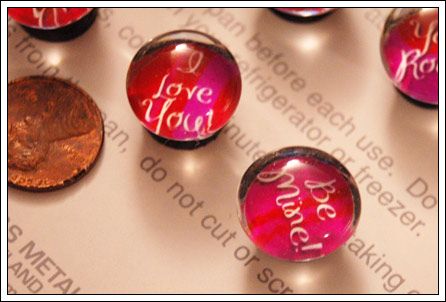

Marble Magnets!